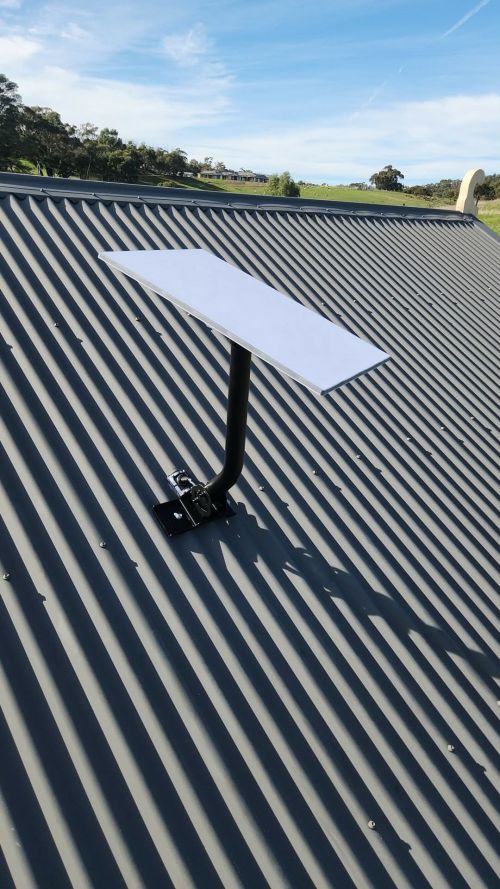
How To Install The CLICK Pro Mount CLICK Pro Starlink Roof Mount.
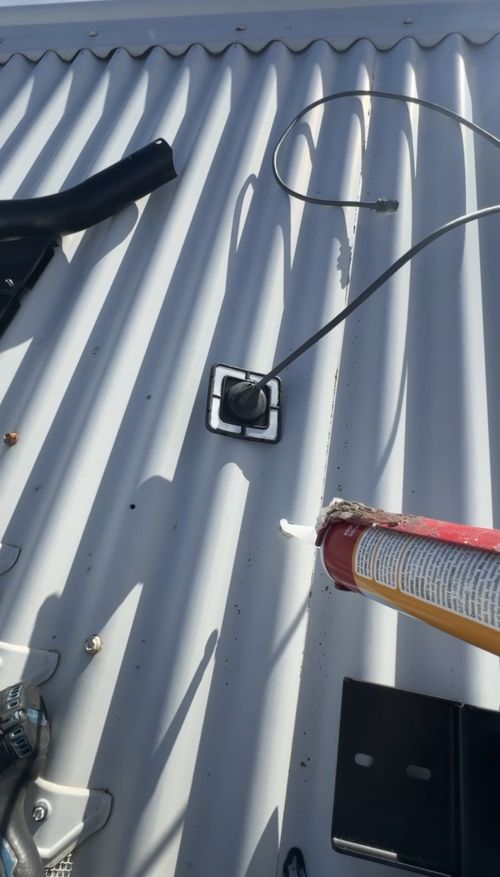
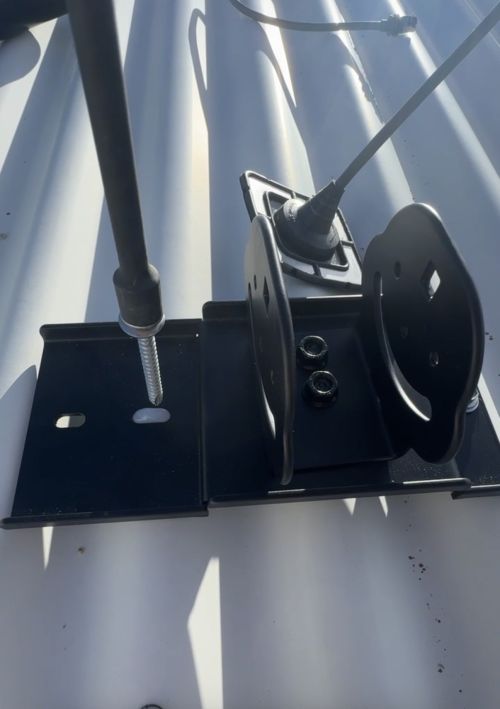
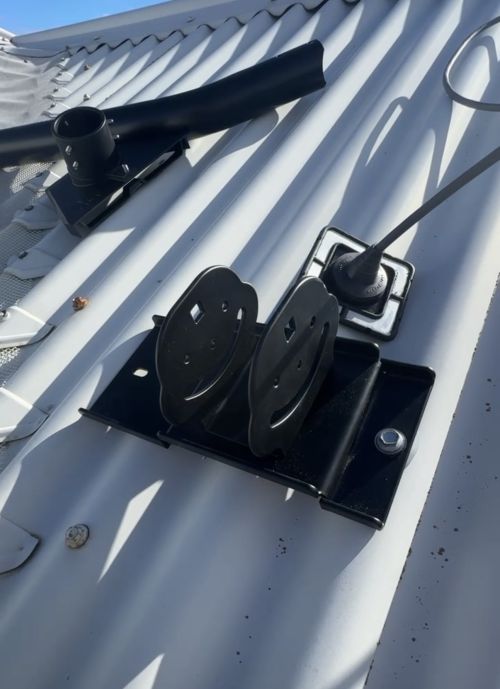
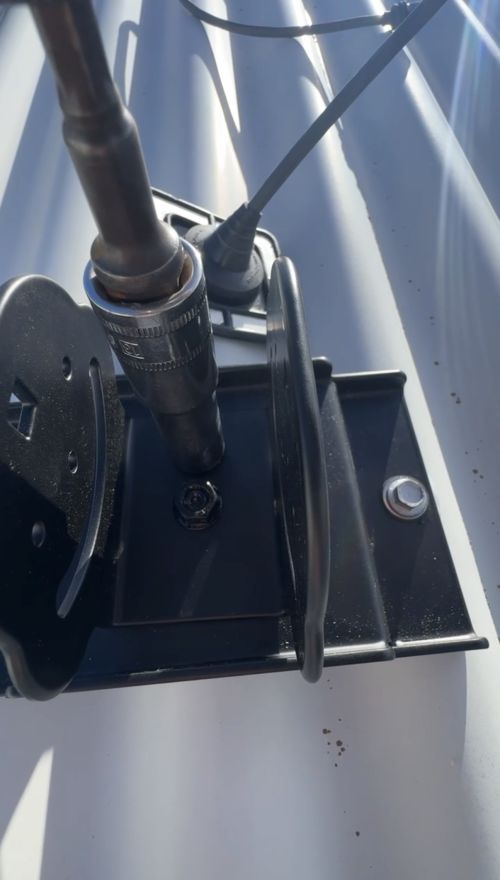
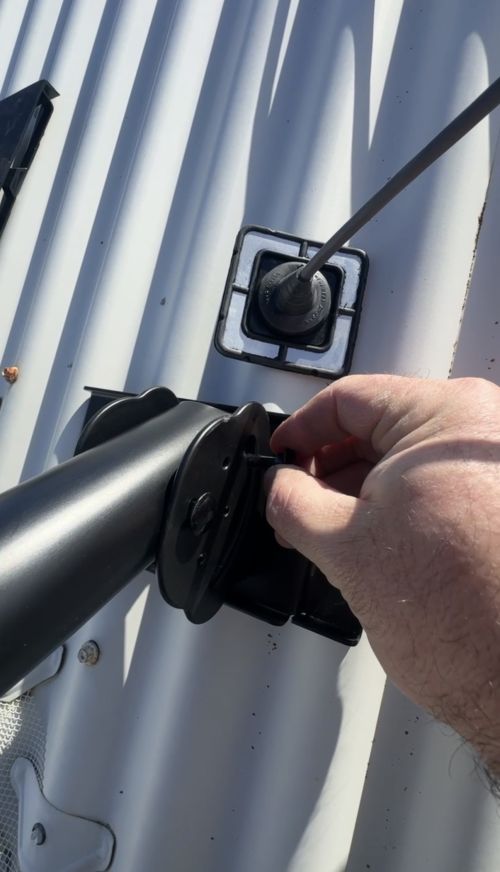
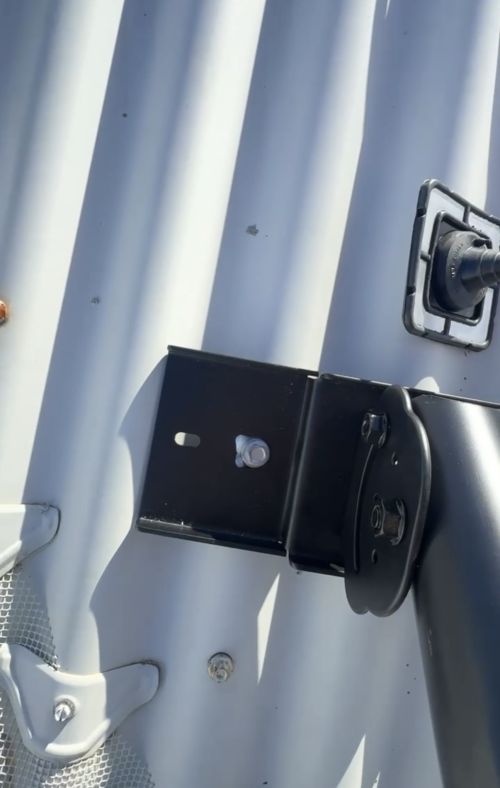
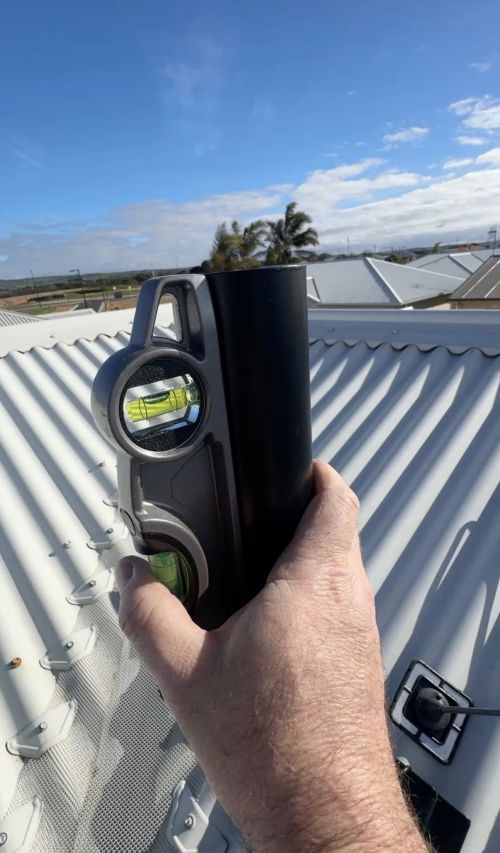
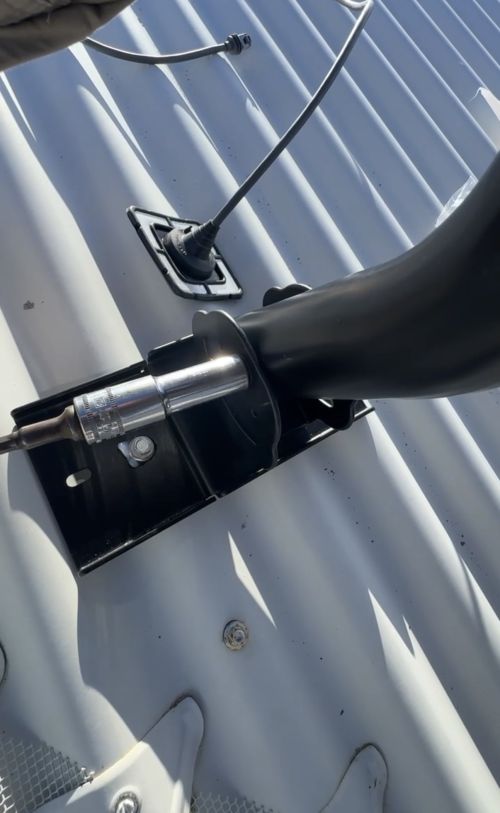
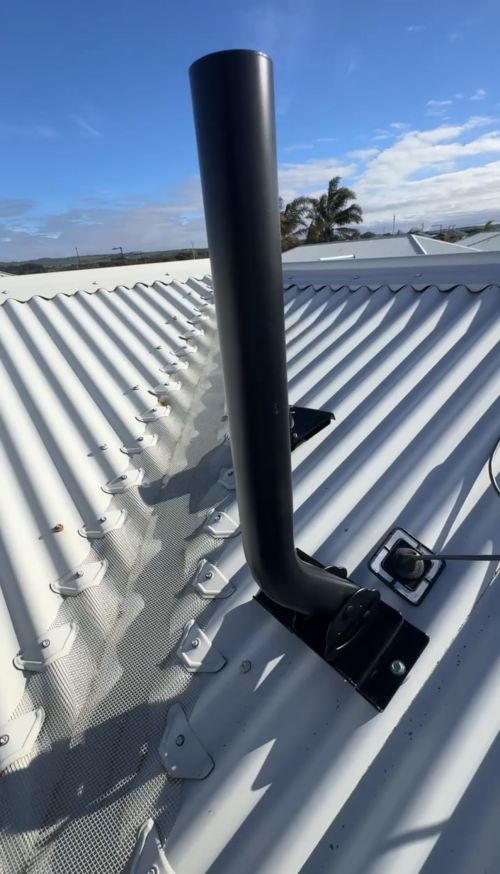
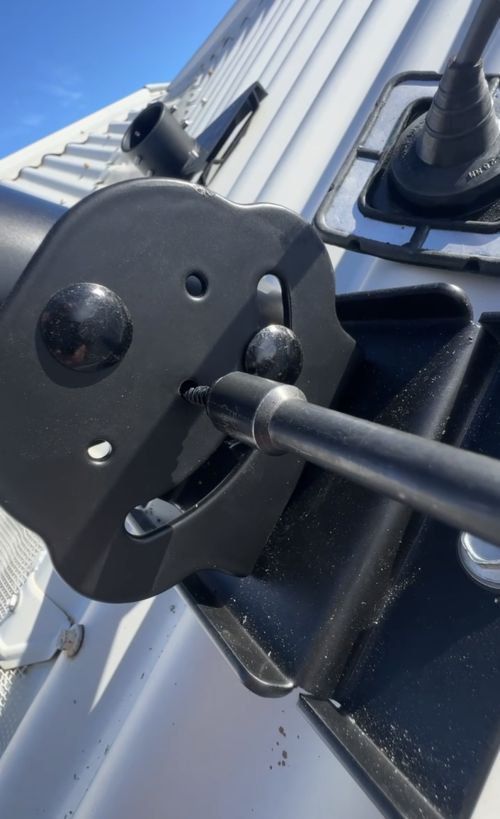
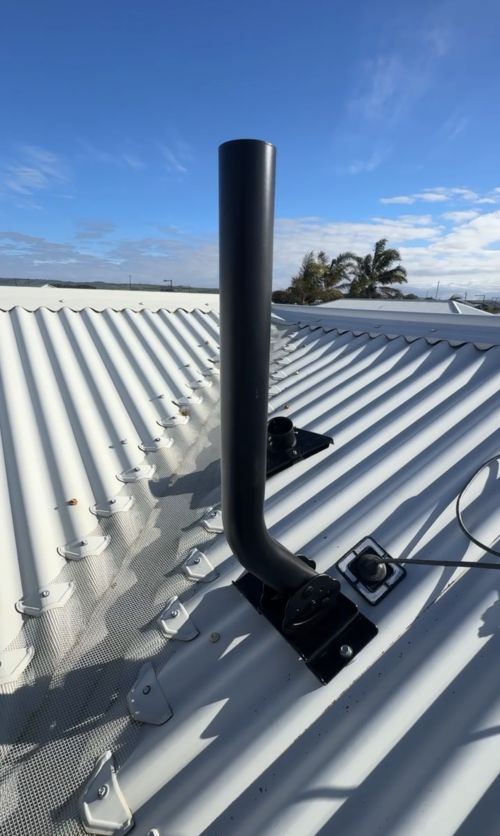
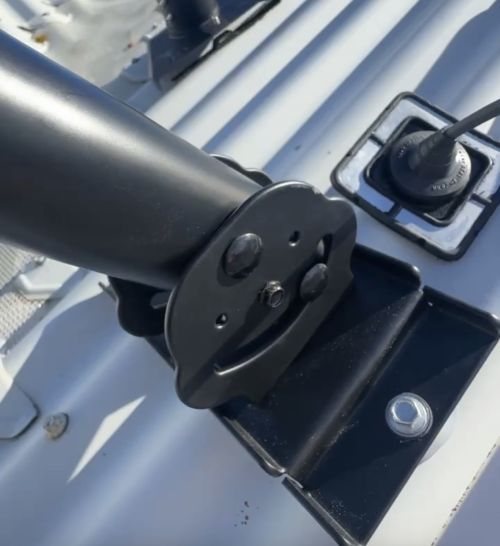
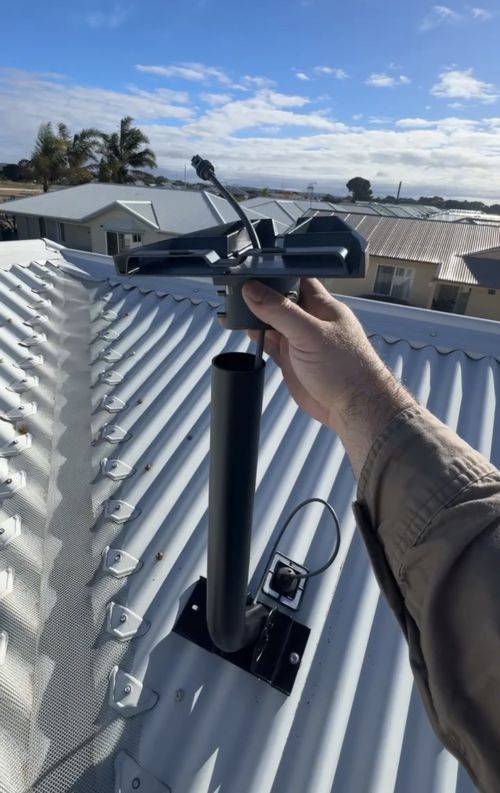
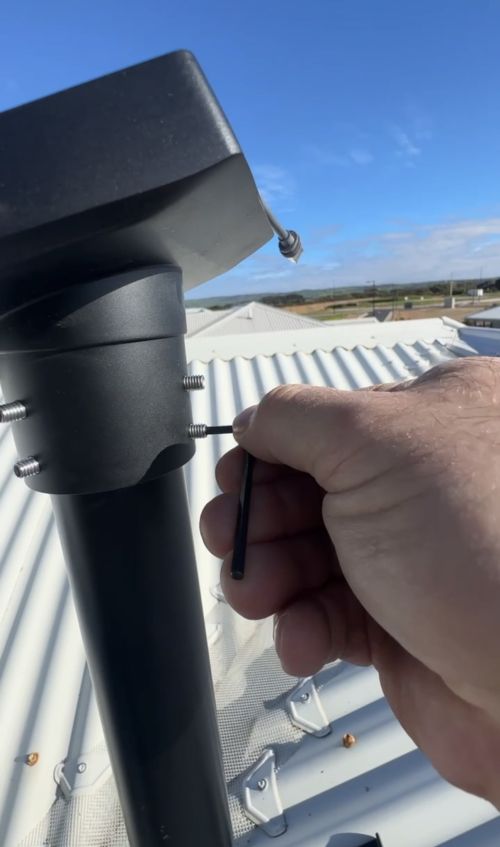
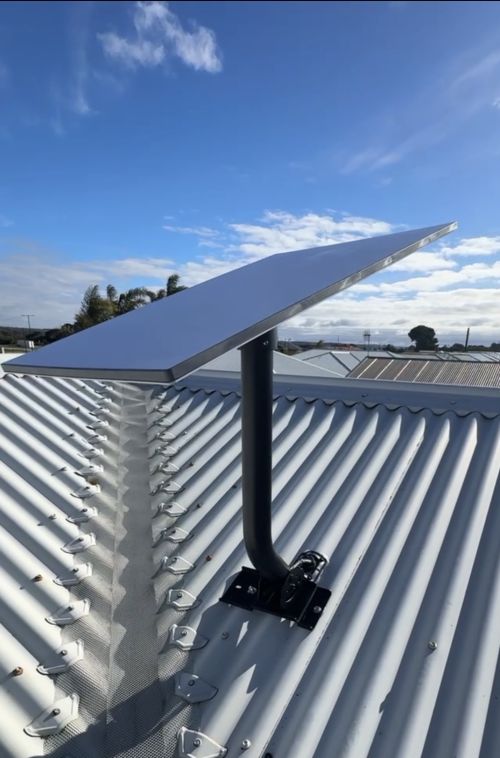
Guide to installing the CLICK ProStep 1. Locate mounting holes (use ridges only)Step 2. Attach base plate with pole holder attachedStep 3. Align pole holder until vertical (may require a spirit level to position correctly)Step 4. Tighten pole holder nuts to stop free twistingStep 5. Attach pole to pole holder with bolts providedStep 6. Use nuts to attach bolts but only finger tight for nowStep 7. Using a level position the pole to be vertically levelStep 8. Tighten nuts to lock in pole positionStep 9. Check level and adjust if neededStep 10. Using small teak screw lock the pole in placeStep 11. Final level checkStep 12. Run cable up through main poleStep 13. Thread cable though adapter and place over poleStep 14. Once adapter is aligned, tighten grub screws to lock in placeStep 15. Attach cable to Starlink dish, attach to adapter and then tighten wind flex eliminator grub screws.